Showing posts with label Freebies. Show all posts

Wednesday, December 14, 2011

Free Printable: Holiday Label Tags

I created this label for you to print! Click here to download a free pdf version. It will print on Avery 8293. Enjoy and happy holidays!


Also, from PrintYourParty.com you can download this very cute set of Freebie tags! Click here to download the complete set! Thank you so much to PrintYourParty.com

Happy Holidays!


Sunday, November 27, 2011

Here's some help for writing Thank You notes!

One of the things you will do through out the process of getting engaged to getting married is write a whole bunch of "thank you" notes! A couple will have hosted for them: an engagement party, a bridal shower and then the wedding it self that people will purchase gifts for them and it is customary for a note of thanks be written for each of these gifts.


Thank you notes should be personal and always hand written. So what do you do if you are not a good writer or what about if you are just stumped for what to say after writing your 100th note? One thing you can do is visit Emily Easton's Thank You Notes website. From crockpots to cash, from sheets to salad bowls, Emily has done the work for you. You will find over 70 items she has put words of thanks to and it'all free for brides and grooms to use. Emily doesn't sell stationery and she doesn't actually write the notes for you - she just provides brides words to copy or ideas you can use! Check it out if you are needing some helpful tips on what to say or how to say it!

Saturday, November 26, 2011

A glam package giveaway from Bonny Bridal

What's black, cream, full of glam and best of all....free? A wedding giveaway of epic proportions! Bonny Bridal has partnered with some amazing wedding vendors and are hosting a $1250 Vintage Hollywood Glam wedding giveaway - that ends NOVEMBER 30th!


One lucky bride will get all kinds of goodies including: The dress, a vintage handmade brooch bouquet, a Tessa Kim feather fascinator and birdcage veil, 25 couture wedding invitations, paddle signs and a wedding banner! There are only 4 days left to enter this fabulous giveaway! GOOD LUCK!


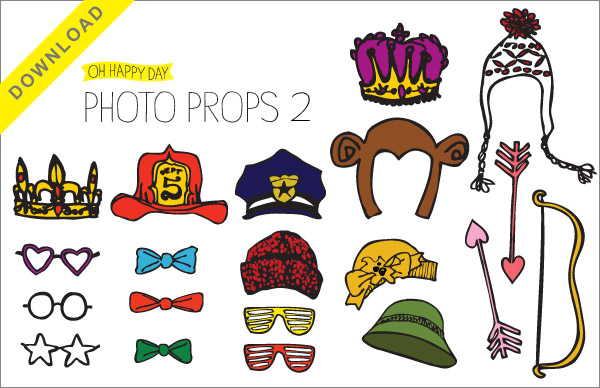
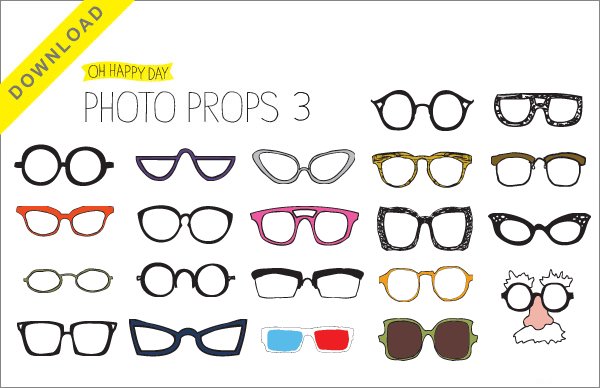
Free Printable: Photo Booth Props

Oh happy day! Literally. I found the most adorable - FREE - do it yourself photo props over on the blog: Oh Happy Day. Mad props to them for putting these together but, it gets even better! They have an easy to follow DIY tutorial on how to make them! 


I downloaded them myself for future use - one can never have too many photo props sitting around, right? When I opened the first set I was thrilled to see that the images are actual size! Thank you so much to the fab group at Oh Happy Day for this awesome DIY project!

Thursday, November 24, 2011

Happy Thanksgiving!

I am so thankful to everyone who comes by and reads my musings on all things wedding! Sharing the love I have for weddings, deals and steals and how to have a fabulous wedding without breaking the bank gives me great joy! I love the act of "giving" - I get so excited every month when I announce our giveaways! This blog has really been a labor of love so, THANK YOU to everyone who stops by! From my family to yours...have a wonderful day! 

If you haven't entered our November giveaway - stop by today and enter! We are choosing a winner tomorrow!!


As we express our gratitude, we must never forget that the highest appreciation is not to utter words, but to live by them.  ~John Fitzgerald Kennedy

Thank you to Jessica at Craftily Ever After for providing these 
free printables for Thanksgiving! 


Tuesday, October 18, 2011

Buzz on over and enter our Meant To Bee Giveaway!

Hi everyone! I just wanted to remind any new visitors that this is the LAST WEEK to enter our October Giveaway! A winner will be chosen on October 23rd! We put together a wonderful selection of items for a wedding, shower or party theme "Meant To Bee". You can enter by clicking here! But, even if that isn't your theme there are still LOTS of other things worth winning! We made it pretty simple to enter this giveaway: Follow us (that's usually a given). By following our blog you will know if you won the giveaway but, you will also get to enter our other giveaways (we usually host 1 giveaway a month), find inspiration, have a place to find other fabulous giveaways and so much more. We have also requested that you "like" two of our generous vendors:

Mini Bumble Bee Cupcake/Cookie Toppers - 1 Dozen

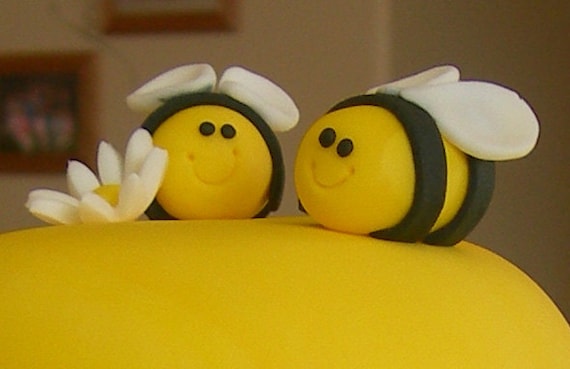
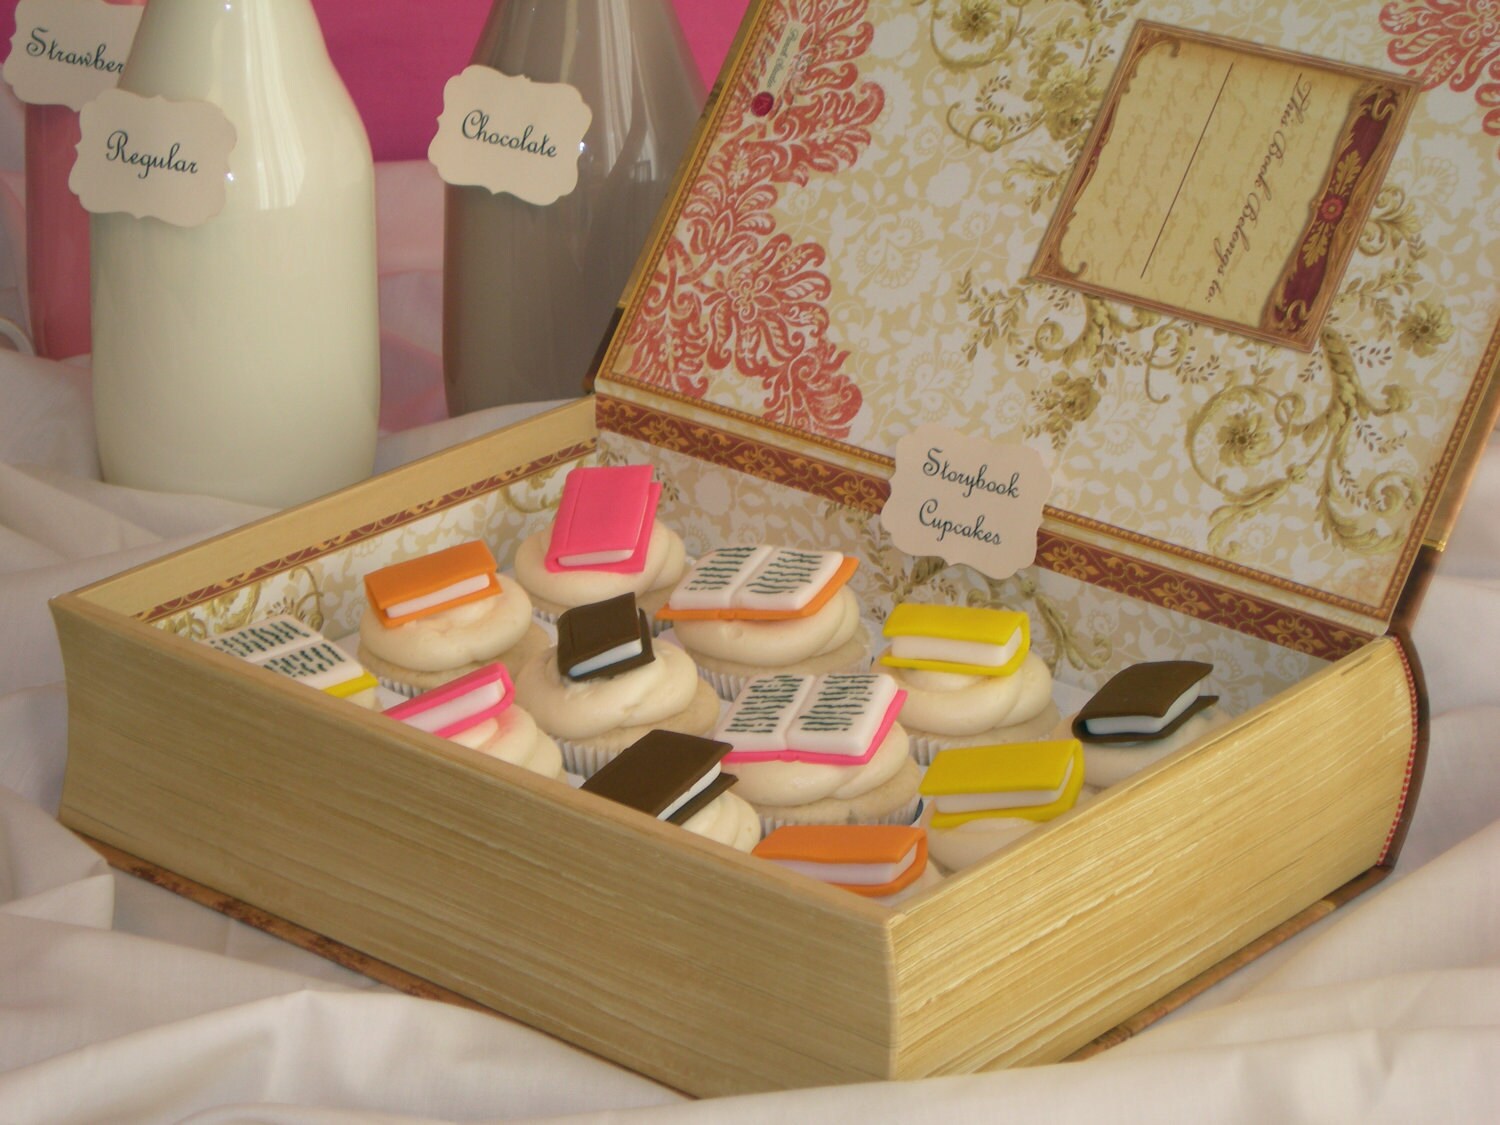
SweetenYourDay: I purchased a dozen handmade bees from her for a party I was having. I absolutely fell in love with them when I got them! Jennifer makes the cutest cupcake toppers, cake toppers and more. All of her items are handmade and edible! This girl has some SERIOUS talent! I contacted her and told her I would be doing a giveaway on the blog and she generously offered to giveaway 1 dozen bees to the winner! She really sweetened my day! :) I know she can make anything you can think of - just ask her for a special request! She made these mini story books - if your guy (or girl) loves to read, or you met in a library these would make a cute little reminder:


Mini Storybook Cupcake Toppers - 1 Dozen (edible)

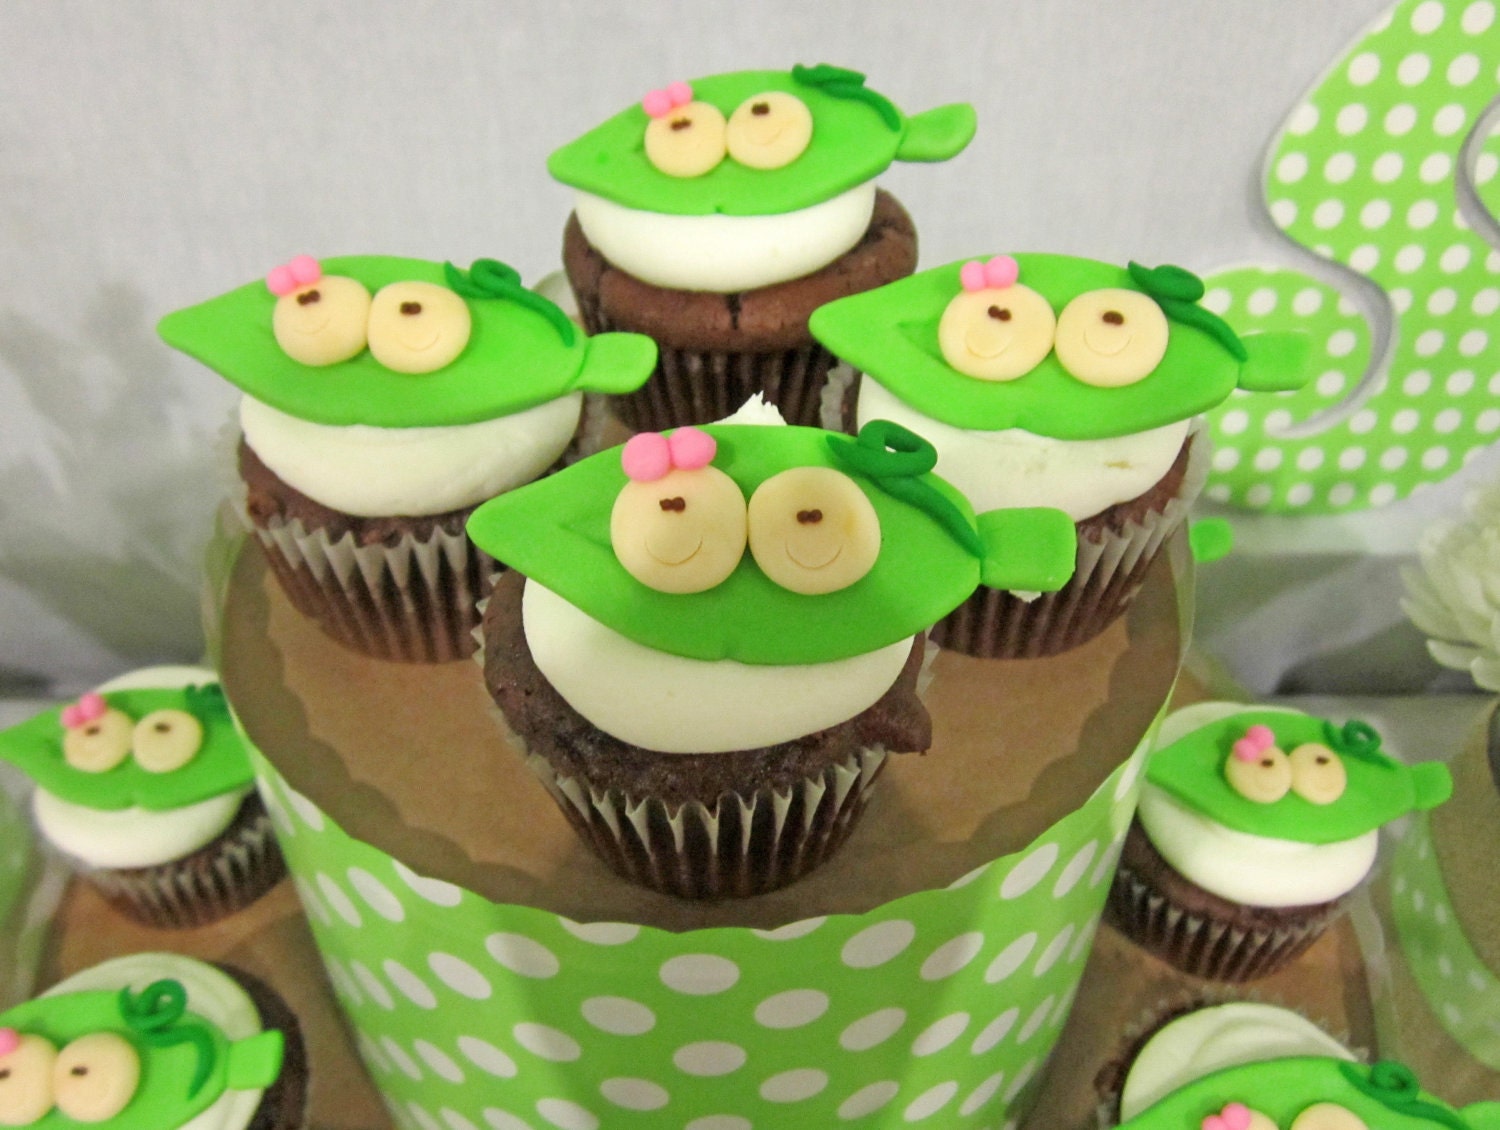
Or maybe you are two peas in a pod?
Peas in a Pod Cupcake Toppers - 1 Dozen

Our next vendor that you were asked to "like" was Bee Creative.  Karen, the crafter extraordinaire, is a personal friend of mine. She is always going out of her way to help her friends with their parties and she puts together amazing banners, invitations and more! I had asked her if she would make a custom "Mr & Mrs" banner for the winner of my giveaway and she was up to the task! She loves creating different things and the winner will get to choose their paper and ribbon colors! She will come up with something that totally matches your wedding or party theme! 


So, a very special "thank you" to both of these ladies! Like I said at the beginning, though, you do not need to be having this specific theme to enter this giveaway! There are other items that you will absolutely LOVE! You will love the Printing Press software. I have used this DIY invitation software for many years. In fact, I purchased this software to do ALL the invitations for my wedding: bridal shower, bachelorette party and the day after wedding brunch! It also makes creating envelopes a breeze. You can use the preloaded images or cut and paste any of your own. It has a very easy to use interface and I know the winner will come up with all kinds of things to use this software for. I am also including two packages of Avery labels that I use - ALL the time! I have uploaded a couple templates (here and here) that you can use for the round labels and you can download all of these items (free of course!) and edit them for your own personal use. I promise to create more - and I will take special requests - just shoot me an email! :)


Ok...that's it for the recap...now hurry up! Go enter the giveaway and good luck to everyone! 


Thursday, September 29, 2011

Meant To Bee - Invitations and Paper Goods

I thought we should start off with the first thing you need to send out when you are planning a party - the invitations. Your invites will be the first insight your guests have to the type of party you are planning and what theme you are going with. All of your paper goods will also coincide with the invites. As I have stated (numerous times) I consider myself "craft challenged" and my instinct is to head straight to Etsy to find the real "pros". I had someone in mind to do my invites and paper goods but, I found myself 14 days out from the party (not good advice and please do not follow my lead on this!) without a confirmed order. I was close to panic mode and knew I had to get the invitations done so, I ventured into what I consider a foreign country - Michael's Craft Store. I found some A7 card stock with envelopes, a 4x6 white card stock and some little wooden bee self-adhesive stickers. 


I have a program called PrintingPress from Moutain Cow that I bought years ago - a good investment at $29.99 since I have been using it for many years now! It makes printing invitations, RSVP cards, envelopes and more super easy!


I knew there would be certain paper goods I would need: stickers, banners, table tent cards, decorative cupcake sticks and address labels. The stickers and the address labels proved to be the easiest out of the bunch! I have used these labels (the same boxes mind you!) for years and multiple projects! I have perfected the round label using MS Publisher! I used the round labels to print the invitation envelope seals and stickers used on the push cake pops. I changed the sticker up, a bit, for this post. But, this can be used to seal the envelopes to the party (before, during and after!) or to seal a favor bag or box. There are so many uses! This is what it will look like:


This file was created using MS Publisher - if you use any other program you may need to change a few things to tweak it. This can also be reinvented for so many other needs like changing the text to say - SAVE THE DATE and then add your date underneath or change the words to "THANK YOU" to use on favors! CLICK HERE TO DOWNLOAD THE BEE STICKER
*Should be used with Avery 8293 labels


One of the next projects was creating table tent cards. These are pretty easy to make. Simply print out on heavy stock paper and then cut into four. I actually used a heavy photo paper I had (to give them a shiny look) but, card stock will also work. I then used some ribbon I had to go with the theme and used a little bit of gorilla glue. Boy, that glue really could work on a gorilla...it's amazing! You can download the template for the table tent cards here. Simply change the text to work for your party - these can also be used for seating cards or escort cards! I do all my work in MS Publisher - if you use another program you may have to adjust the specs.


Cupcake topper or party sticks can be used for a variety of goodies. These were fairly easy to make - the hard part was finding the right size puncher to use! I think checking online would be a better way to go because, honestly the selection at craft stores  near me was somewhat limited! They had a lot of them...just not the perfect size or shape. My first purchase was for a scalloped 2 inch circle - that just did not work though! It just seemed too small once you punched them out. I then purchased a 2.5 inch round circle punch. I bought some fun scrapbook paper at Michael's ($0.69 per sheet). I used the 2.5 inch puncher to get the polka dot circle, printed out the smaller decorative circles on photo paper and just used some household scissors to trim and of course some 6 inch lollipop sticks. The lollipop sticks were $4.99 for 100 sticks! My gorilla glue came in handy once again to assemble. These were fun to do and I plan on using this idea for some other upcoming parties. You can download this image to use for the smaller circle - just add text or image you want to use. You can also use your photo editing software to change the color of the circles!
One of my craft friends, she is in the "pro crafter" category, made the Happy Birthday banner for me. She has all the fancy gadgets, like the Cricut, which would have made a lot of my DIY projects easy! I couldn't see investing that kind of money into my own projects although, I do think that it would be fun to own one to see what I could come up with! Bee Creative, my friends business, has all kinds of banners, invitations and well, pretty much anything you can think up - she can do!


This finally wraps up my post on the invitations and paper goods! I hope all the files I uploaded will help you with your crafts projects! And if you are on Facebook, head on over to Bee Creative and "like" them! Now, let's talk about one of my favorite things: the sweets!!

Our Meant To Bee Giveaway is now open! 
Click here to enter now!


Tip Junkie handmade projects


Tuesday, September 27, 2011

Busy as a bee!

I have been a little quiet on the blog lately but, not without good reason! I have been working feverishly to plan my daughters 5th birthday. Without a doubt, any party planning always makes me think about weddings - because a wedding, engagement shower or bridal shower are simply parties. They are celebrations where you have a lot of people coming together and they inevitably cost a lot of money. One of my goals with the blog is to show you how to save money on your wedding - or any celebration you are having! My daughter finally chose her birthday theme: Bumble Bee and my wedding brain kept telling me "Meant To Bee" with every detail I was planning. Because there is SO much information and detail to share, I am going to break it down into a couple of posts so, bear with me, because at the end you, my faithful readers, will be rewarded for buzzing a long with me on this journey! I will provide you with all these great things to make your event and planning MUCH easier:

  • Tutorials - how to make all the DIY items
  • Templates - blank templates for you to use
  • Vendor tips and reviews
And...finally, you will be rewarded with a giveaway! I have an amazing giveaway planned for you! Please share this blog or these posts with your family and friends: anyone planning a party or a wedding - especially if you feel it is meant to bee!


Saturday, June 25, 2011

Carnival Theme: Wedding or Party - Part 2

Doing a carnival dessert station was so much fun! I love creating and designing themed parties! In part 1 of the carnival party I talked about how I was able to get a dessert table for 50 people for just a little less than $2.00 a person! In this post we will tackle how to do the paper goods! Although this post is geared towards a carnival theme, you can incorporate some of the printables into other themes!


Stickers on the cotton candy bag: Adorable right? And...super easy! I had a package of Avery 8293 Shipping Labels at home - you get 400 of them in a package and these are GREAT for making your own labels for a variety of wedding items! I recently saw them priced at Amazon for $15.58 (free shipping and no tax!) makes them about .04 cents a piece! Here is a tutorial I put together on how to print the perfect label size every time that you will LOVE! 


If you are familiar with MS Publisher you can head off now to go and create stickers, after you download the red and white striped background here but, if you are not familiar with using Publisher and want to know how to create the stickers, keep reading!


Open your saved sticker in Publisher. You will need to use the oval tool to create the white space:


Now, you need to fill in your circle to make sure it's white:


Once you have done this you will want to open the red and white stripe paper using Adobe Reader and then hit Edit, Copy File to Clipboard. Go back to Publisher and hit CTRL M to get to the background mode. Hit CTRL V to paste your red and white stripe background on the file. This background will fill up your whole screen! Hit CTRL M to toggle back to your circle.


Use the text tool to write in your personal message:


Make sure you SAVE your document! And then you can print them off! You can use the Print Preview button to see how your finished document will look:


Pretty easy, right?! I just love these stickers and with a little work on your part you really will use all 400 stickers! If you didn't want to use the stripe background, but instead a solid color background, you can easily do this in Publisher using the Fill tool. If you need help with that you can leave a message on this post and I would be happy to help you!


I also came across this gorgeous collection for a carnival wedding or shower from Wedding Style Guide!


You can get all these goodies in PDF format! Click on any of the links to download the documents! Name tags, Invitations, Drink Tickets and Party Games!


Sunday, June 19, 2011

Free Printables: With love

I found a couple of free printables - in my favorite wedding color (pink!) and I had to pass along! These are easy items to incorporate into wedding decorations:


This heart of love is from The Fickle Pickle and you can click here to download it - for free!


This print is a very popular saying, with a little adaptation - and I love this one done in pink with a heart! This one is from The Hands-On Housewife and you can download it for free here!


Thursday, May 5, 2011

Happy Cinco de Mayo - and an few wedding ideas

Right now, I should be breaking out my new empanada press that I bought at a Tupperware party (yup, I went to a Tupperware party!). I got all excited when I saw this in the catalog because: A. I love empanadas and B. I get excited about the prospect of making new things! 


Picture


So, once this lovely item came into my possession, I was pretty pumped up! I ran out to the store and bought a 4 lb bag of special flour to make handmade dough (pretty impressive huh?) But, once I started reading the directions that Tupperware supplied with the empanada press (note: you should always read the directions first) it told me I could use refrigerated pie crust! I thought, why the heck did I just buy 4 lbs of corn flour?!


Tortillas - Maseca Corn...
So, my inspiration has always been to try my hand at the empanadas on Cinco de Mayo. Guess what? That's TODAY! But, here I sit reading blogs and websites ABOUT Cinco de Mayo and thinking about how you could incorporate all these fun things at a wedding, err Fiesta! I originally started looking at Margarita Cupcakes (the idea came from the Sweet Treat Giveaway we just did because a couple of readers sited them as their favorite cupcake). Sounds delish right? So, I went recipe searching and people really do add tequila into the cupcakes....whoa! These are not for kids ladies and gentleman! 


My daydreaming continued into fiesta-land where I found this adorable FREE template for you to download and print out your own invitation! 


Flights of Fancy created this invite and all you have to do is: Type your wording in the template, print on cardstock and trim using the cropmarks as a guide and for the address labels: type your return address in the template, then print on Avery labels #5164 (3 1/3″ x 4″, 6 labels per sheet). Wow! Super simple right?

So, now that I have satisfied my wedding fiesta ideas, I think I am going to go see how difficult making homemade empanadas will be...I will keep you posted if I tackle them or just do Mexican take-out! Happy Cinco de Mayo!

***UPDATE***

I braved the empanada maker....and I WON! If you like empanadas and know someone who sells Tupperware, I highly suggest buying this little gadget! They were easy to make and tasted SUPER good! For sure, next time I would try the refrigerated pie crust. I used the corn flour and ended up frying my empanadas (would have preferred baked). Here's a pic (bad quality Iphone pic)


Tuesday, April 12, 2011

Things I think about....


Lately, I have been going back and forth about my giveaways. I host a pretty major (at least I think it's major) giveaway once a month on my blog. I usually choose 1 or 2 items that I am having fits over because I didn't see it or it wasn't around during my own wedding planning. Oh. They call that jealousy, too. Because you will get it and I will not...but, I am giving it...so, it makes up for the jealousy!! ha. But, all of this wasn't even what I have been thinking about. It's SO hard to find a site that does Just Giveaways for Weddings. I can find sites that are "Just Giveaways" but, my thing is, the need to have the "for Weddings" part. I want a place where a bride can go look and then enter to her hearts content. Hmmmm. So, I guess question is - what do YOU think? Should this be something I move toward bringing to life? I think I might. I have the design and the concept in my head. 
I. COULD. DO. THIS. 
I. AM. GONNA. DO. THIS.

It doesn't change anything....at least for me. My giveaways will remain here but, be listed over there. I just love, love, love the fact that so many women have such great opportunities to win amazing, cool things for their weddings - and some of these things could save them a GREAT DEAL! Having extra money to move around when you are on a tight budget is nerve wracking! 


Any bride on a budget should be entering giveaways! From the win a $100,000 Dream Wedding from Crate and Barrel to the wedding gown of your choice from Bonny Bridal to even just a pair of earrings from an Etsy shop....every little bit helps! 


Awesome. Time to get to work. :)


Sunday, February 20, 2011

Free Fonts for Weddings

While browsing some favorite blogs today I somehow found myself stumbling upon fonts. Cool fonts. FREE FONTS. I love freebies! Installing them is pretty easy - although if you haven't ever installed fonts or you haven't done it in awhile, at the end of this post I will tell you want to do. But, for now check out these fonts you can download and use for DIY save the dates, invites and thank you's!
The script font on this invitation from East Six (oh my god AMAZING invitations) is called Porcelain and you can download it FREE here!

font-artist-medium
Want the stamp pad look without the stamp pad? There's a font for that! 

Click to Download Cute Free Handwriting Fonts
One of the first blogs I started reading was http://kevinandamanda.com. I still read Amanda's blog and get email updates from her. She has no idea but, she totally inspired me to blog. Now, she blogs (a lot) about cupcakes. How can you not get a daily dose of cupcakes? She travels all over, she has an amazing camera (and photo tutorials) and 2 adorable Boston Terriers. In her spare time (serious?) she has another site that offers handwriting and scrapbooking fonts. They are some of my favorites and you have a lot to choose from. You can download one or all of them for free here!

Now we need to talk about how you install these lovely fonts onto your computer! If you use a MAC you are on your own...because I use Windows and that is what I will cover!

When you choose to download any of these fonts they will come in a .zip file and will most likely be placed in your Download folder. You just need to double click on the file to unzip it. Inside each file will be an example of the font and another file that should end in a .ttf extension, which stands for True Type Font. This is the file you will need to install. If you want before you begin to download fonts you could make a new folder and put all .zip files there (easy to find them later!). So, here are the instructions to install:

  • Click Control Panel, then Fonts (this opens a new window. if you do not see the "File" option at the top left side of the box hit the ALT key and it will pop up)

  • Click FILE, INSTALL NEW FONT (this opens a new box and you have to know where you put the unzipped file with the .ttf extension)

  • Click on the file with the .ttf extension (or it will say True Type Font over to the left side)

  • Click install

  • Start enjoying your new FREE fonts!!


  •